If you own a shed on a rural property and are contemplating converting it into a fully functional workshop, it is essential to prioritise the electrical infrastructure. Operating a MIG welder, air compressor, and table saw on the same circuit as your home can result in serious issues. These include frequent breaker tripping, flickering lights, and hazardous overload situations that jeopardise both safety and functionality.
This detailed guide outlines the critical aspects of wiring a dependable workshop in rural areas of the Mid North Coast. We will delve into the significance of dedicated circuits, sub-boards, and the advantages of three-phase power for larger machinery. If your requirements are limited to basic power needs, such as lighting and a few outlets, please refer to our guide on Shed Wiring on Acreage for a more suitable starting point. This article specifically addresses workshops that demand substantial power for high-intensity tasks.
Why Are Dedicated Circuits Essential for Your Workshop’s Power Requirements?
Many residences utilise shared circuits for multiple power points, which is typically adequate for low-power appliances like kettles and televisions. Problems arise when operating a 32-amp MIG welder alongside an air compressor. Without proper management, this setup can lead to significant complications.
Consider the potential issues associated with connecting heavy machinery to household circuits:
- Frequent breaker tripping — A welder using over 30 amps on a 20-amp circuit will immediately trip the breaker or, worse, cause the wiring to overheat before the breaker responds.
- Voltage drops — Long cable runs from the main board to the shed can lead to voltage sag. This causes tools to operate at elevated temperatures, function slower, and wear out more rapidly.
- Power interruptions in the home — Your partner may experience a power loss in the kitchen when the compressor starts up, leading to unwanted discussions.
- Increased fire hazards — Overloaded wiring within walls and cable runs is a primary cause of electrical fires in rural areas.
Implementing dedicated circuits can effectively mitigate these issues. Each heavy tool should have its own dedicated circuit, sized appropriately for its load, along with individual breaker protection. This setup ensures that no circuits are shared, preventing overloads.
How to Assess the Power Requirements of Your Essential Workshop Equipment
Before your electrician can create an effective circuit layout, it is crucial to understand the power requirements of your tools. Below is a breakdown of common workshop equipment and their typical power consumption:
- MIG welder — Requires between 15A and 32A, depending on the model. Larger 240V welders generally operate at the higher end. Three-phase units have varying power requirements, which will be addressed later.
- Air compressor — Consumes around 10A to 15A. The startup surge can be considerable, with compressor motors often drawing three to four times their running current for a few seconds upon activation.
- Table saw — Typically operates between 10A to 15A for a quality cabinet saw. More affordable contractor saws may consume less power, but opting for a quality model is advisable.
- Lathe (wood or metal) — Similar to table saws, these generally require between 10A and 15A, with metal lathes typically on the higher end.
- Dust extractor — Approximately 10A for a single-phase unit. It must operate continuously while using other tools, necessitating its own circuit.
- Plasma cutter — Draws between 20A and 30A, similar to a welder, and also requires a dedicated circuit.
When you calculate the total power draw, it becomes clear that a single 20-amp circuit from the house is inadequate. A well-equipped workshop may easily require 80 to 100+ amps across all circuits when operating at full capacity, underscoring the need for a comprehensive electrical plan.
How to Choose the Right Circuit Breaker Size and Ensure RCD Protection
Every circuit in your workshop needs a breaker that corresponds to the cable size and anticipated load. Your electrician will determine this based on your equipment, but as a general guideline, consider the following:
- 15A or 20A circuits — Best suited for general power points, dust extractors, lighting circuits, and lighter tools.
- 32A circuits — Required for welders, plasma cutters, and other heavy single-phase machinery that demands significant power.
- Three-phase breakers — Should be sized according to the specific requirements of your equipment (details below).
RCD protection is essential. As per AS/NZS 3000 (the Australian Wiring Rules), all power and lighting circuits must include RCD (safety switch) protection. This legal requirement safeguards against the high-risk nature of workshop environments.
Concrete floors, metal tools, dust, and moisture enhance the likelihood of earth faults. RCDs quickly cut power if there’s a current leak to earth, which can mean the difference between a minor shock and a serious injury.
Typically, your electrician will employ a combination of RCDs and MCBs (miniature circuit breakers) or RCBO units that merge both functionalities. RCBOs are particularly advantageous in workshops because a fault in one circuit does not disrupt power to others, resulting in a more reliable electrical system.
Why Install a Dedicated Sub-Board for Your Workshop’s Electrical Needs?
Instead of running multiple individual cables back to the main switchboard, installing a dedicated sub-board in your workshop is a more efficient strategy. Here are the benefits:
- Shorter cable runs — A single heavy feed cable connects from the house (or a separate meter) to the workshop board, followed by shorter runs from the sub-board to each outlet. This arrangement reduces voltage drop and lowers cable costs.
- Simplified fault diagnosis — Each circuit is clearly labelled and easily accessible within the workshop. If a breaker trips, you won’t have to walk back to the house to reset it, enhancing operational efficiency.
- Future expansion — A properly sized sub-board allows for the addition of more circuits in the future, facilitating the accommodation of new tools later on.
- Isolation capability — You can shut off all workshop power from a single main switch without affecting household electricity, a crucial safety feature.
If your main switchboard is outdated or operating at full capacity, you may need an upgrade to effectively support the workshop sub-board. Older ceramic fuse boards may not safely manage the increased load.
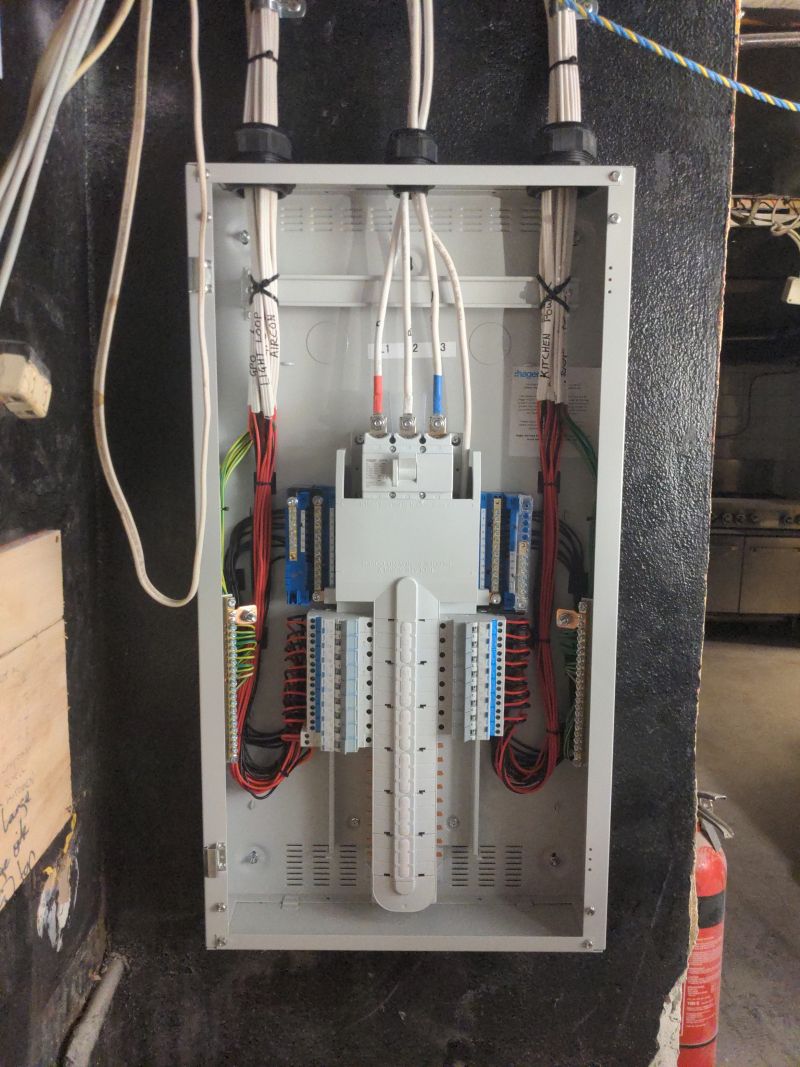
A typical workshop sub-board setup includes a main switch, individual RCBOs for each circuit, a dedicated lighting circuit, and a surge protection device. We will size the incoming feed cable based on the total expected load plus a buffer for future additions to ensure long-term efficiency.
How to Create an Effective Lighting Strategy for Your Workshop
Sufficient lighting is paramount for safety in your workshop. Clear visibility is essential, especially when working with sharp blades and hot materials. Here are some key lighting considerations:
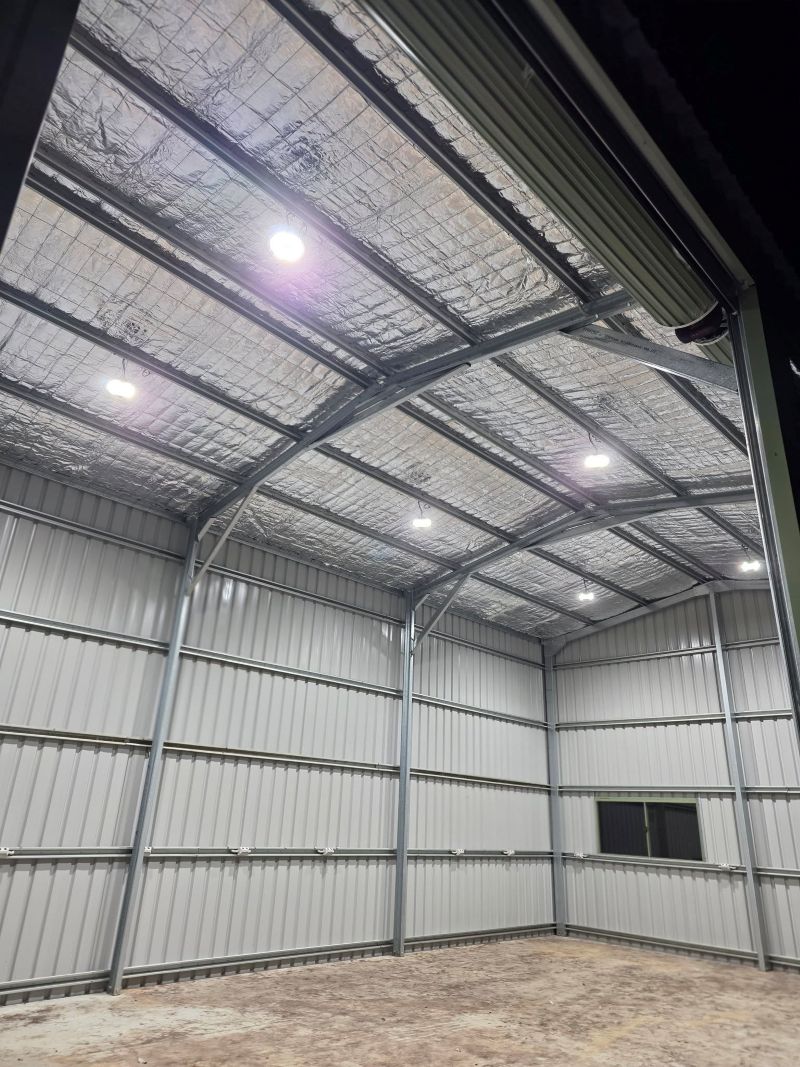
- High-lumen LED battens — LED panels or battens provide bright, uniform illumination throughout the space. Aim for a minimum of 500 lux at bench height to ensure optimal visibility.
- Dust-proof fittings — Standard lights can become obstructed with sawdust and metal shavings. Opt for IP-rated fittings that are dust and moisture resistant for durability and safety.
- Task lighting at workstations — While overhead lighting illuminates the general area, focused lighting at the workbench, lathe, and drill press is crucial for precision work, enhancing productivity and safety.
- Dedicated lighting circuit — Lighting should operate on its own circuit, ensuring illumination remains when a power circuit trips. Being left in the dark next to a running table saw poses a significant safety hazard.
We have extensive experience with lighting designs in commercial spaces. Our team can assist you in developing a workshop lighting plan that significantly enhances your working environment while adhering to safety standards.
What to Consider for Effective Ventilation and Dust Extraction Circuits
When engaging in woodworking or welding, ensuring proper ventilation is as important as having sufficient electrical power. Dust extraction systems and exhaust fans require dedicated circuits due to several critical factors:
- Continuous operation — Your dust extractor must run whenever you are cutting. It cannot share a circuit with the tool it serves, as this would compromise safety and effectiveness.
- Motor startup loads — Dust extraction fans and collectors can experience significant startup surges, similar to compressors, necessitating dedicated circuits.
- Interlocked switching — In an optimally designed workshop, the dust extractor can be wired to activate automatically when certain tools are powered on. This requires careful circuit design and planning.
Plan for at least one dedicated 15A circuit for dust extraction and another for general ventilation to ensure proper airflow. If you are using a cyclone-style dust collection system, it may require a 20A circuit based on motor specifications.
How to Leverage the Benefits of Three-Phase Power for Heavy Equipment
If your work involves intensive metal fabrication or operating large compressors (5HP+) or commercial-grade woodworking tools, single-phase power may become insufficient. Three-phase power provides several distinct advantages:
- Increased power capacity — Three-phase motors operate more efficiently and provide greater power without the excessive startup surges typical of single-phase motors.
- Support for larger welders and plasma cutters — Industrial MIG/TIG welders and CNC plasma tables usually operate on three-phase power, ensuring optimal performance.
- Smoother operation — Three-phase motors run more smoothly and cooler, extending the lifespan of your tools and enhancing overall efficiency.
Accessing three-phase power in rural areas of the Mid North Coast depends on availability at the street level. Some properties may already have three-phase supply, while others might require a phase converter or a new connection from Essential Energy.
For additional details, refer to our guide on Do I Need Three-Phase Power on My Property?
If three-phase power is accessible, your workshop will require a three-phase switchboard installation complete with appropriately rated breakers and an effective earthing system to ensure safety and compliance.
How to Protect Your Equipment with Surge Protection
Tools equipped with electronic controls, variable frequency drives (VFDs), digital displays, and inverter welders are particularly vulnerable to voltage spikes. Notably, your workshop generates surges every time a large motor starts or stops. Combined with the voltage instabilities commonly found in rural power lines, your equipment faces considerable risk.
Installing a surge protection device (SPD) at the sub-board can intercept voltage spikes before they impact your tools. This cost-effective measure is far less expensive than replacing the electronic components of a $3,000 welder or CNC controller.
If your property is prone to storms—which is typical on the Mid North Coast—we recommend adding surge protection at the main switchboard to safeguard against lightning-induced surges that could damage your equipment.
For properties that depend on a generator for backup power, incorporating a generator changeover switch ensures smooth transitions between mains power and generator supply, preventing back-feeding or damage to connected equipment.
What Additional Features Should You Consider for Your Workshop Fit-Out?
Here are several more elements to integrate into your workshop wiring from the outset:
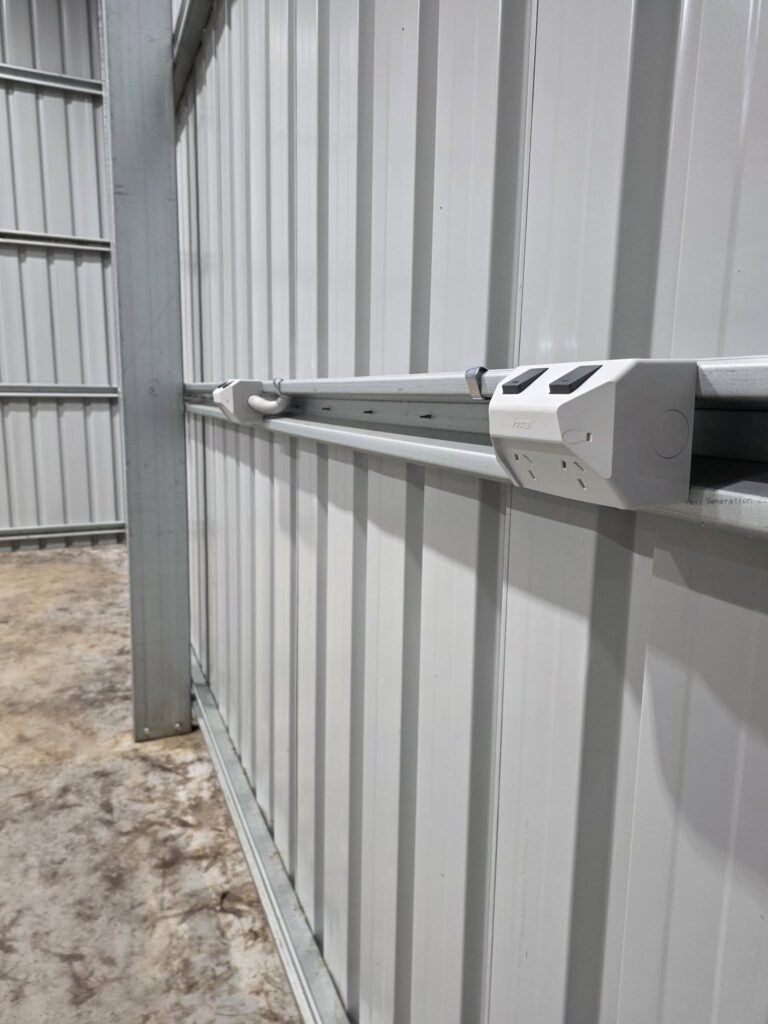
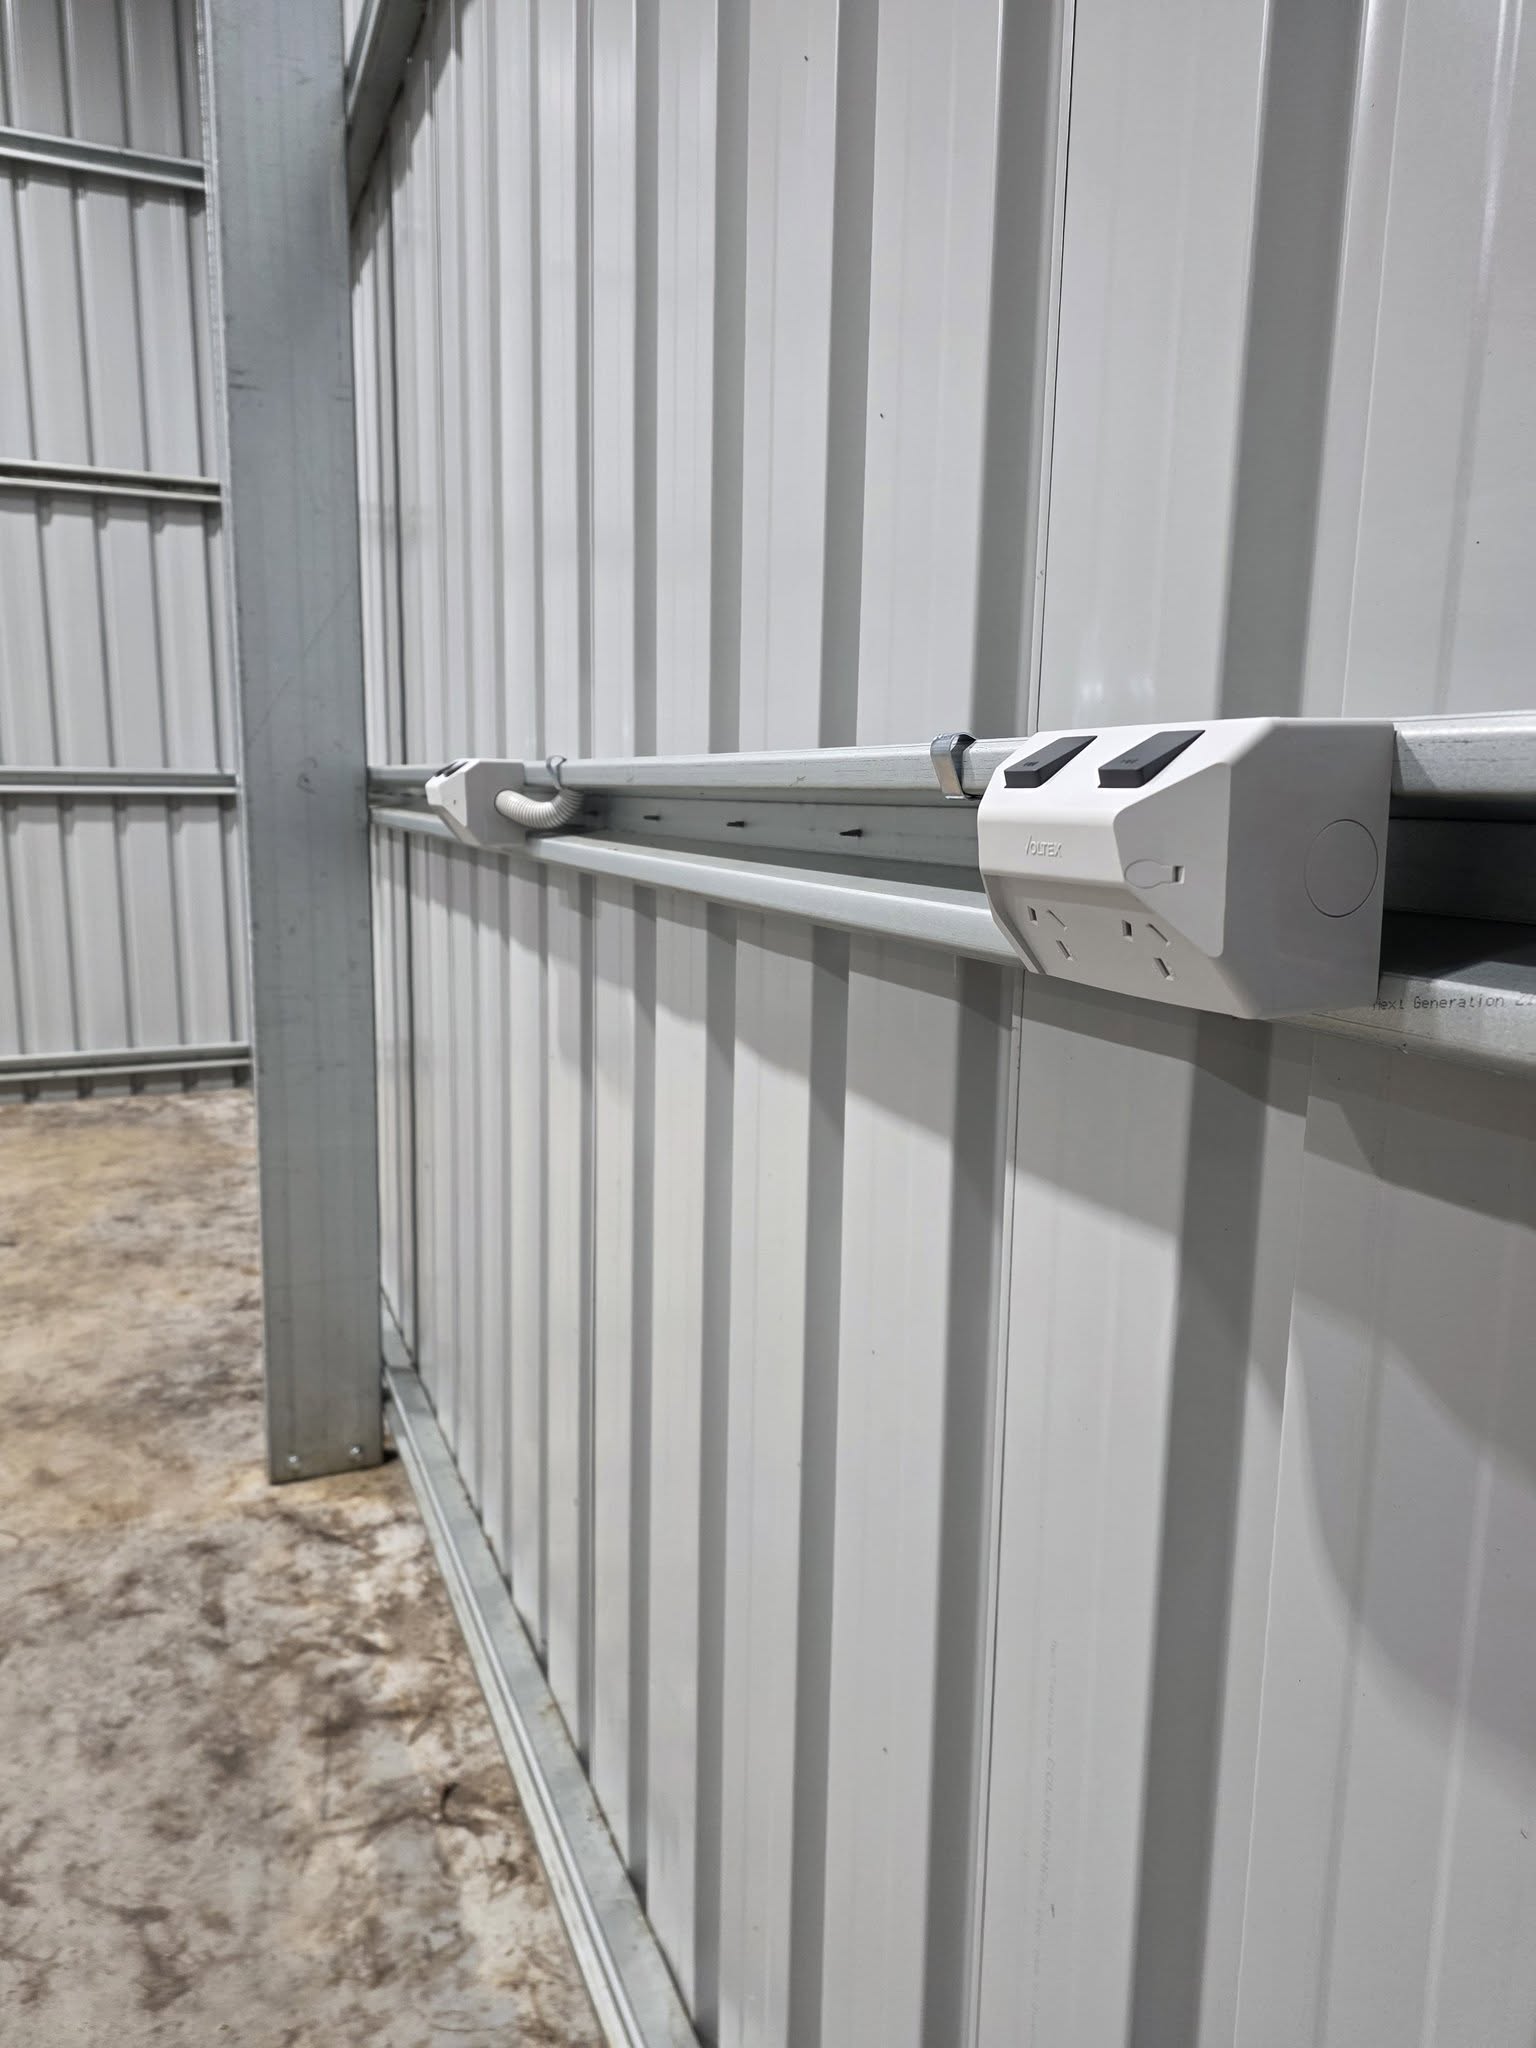
- Ample power points — Install more power points and switches than you think you will need. Use weatherproof GPOs if the workshop is open-sided. Consider double power points at every bench and outlets positioned conveniently near key machinery.
- Data and communications — If you require internet access for streaming music, operating a CNC machine, or monitoring security cameras, plan for data and TV wiring simultaneously with the electrical setup. It is significantly easier to run cables during the initial fit-out than after the walls are finished.
- External lighting — Include floodlights outside the workshop to facilitate access during early mornings and late evenings, especially in rural areas where street lighting may be lacking.
- EV or equipment charging — If you utilise electric tools (such as battery-powered equipment, an electric vehicle, or an electric quad bike), implement a dedicated charging circuit to prevent overloads on general outlets.
How to Estimate Your Workshop Electrical Fit-Out Costs
Cost estimates will vary based on workshop size, the number of circuits required, and whether three-phase power is necessary. As a rough guideline for the Mid North Coast, consider the following:
- Basic single-phase setup (sub-board, 4–6 circuits, lighting) — Starting from $5,000
- Complete dedicated sub-board (8–12 circuits, multiple heavy tool circuits, dust extraction, comprehensive lighting design) — Starting from $10,000
- Three-phase workshop build (three-phase supply, dedicated board, heavy equipment circuits, complete fit-out) — Starting from $15,000+
These figures represent starting points. Complex layouts, lengthy cable runs from the mains, or the need for upgrades from Essential Energy will increase overall costs. We provide transparent quotes based on your specific workshop and equipment requirements—there are no hidden fees involved.
Important Reminder: Engage Licensed Professionals for All Electrical Work
It is crucial to emphasise this point. In New South Wales, all electrical wiring work must be performed by a licensed electrician. This includes the installation of new circuits, sub-boards, power points, and the connection of equipment. There is no DIY exemption for electrical work, even on your own property, to ensure safety and compliance.
Hack-It Electrical Solutions holds NSW Electrical Contractor Licence #230609C and operates across Bellingen, Coffs Harbour, Sawtell, Nambucca Heads, Woolgoolga, Urunga, Dorrigo, Valla Beach, and Toormina.
Engaging in unlicensed electrical work can void your insurance, create serious safety hazards, and result in hefty fines. If someone offers to perform the work cheaply without a licence, it is not a saving—it is a risk that could have dire consequences.
Frequently Asked Questions About Workshop Electrical Setup
Can I Use a Standard Power Point for My Welder?
Small stick welders (up to around 140A output) can indeed be used with a standard 10A or 15A power point. larger units necessitate a dedicated circuit. A MIG welder with a capacity of 200A or more connected to a 10-amp GPO will trip the breaker immediately or potentially cause the wiring to overheat if the breaker malfunctions. If you are welding regularly, it is critical to have a dedicated 32A circuit installed for safety and efficiency.
How Many Circuits Should a Workshop Typically Have?
The number of circuits needed will depend on your tools, but a well-equipped workshop generally requires a minimum of 8 to 12 circuits. This includes dedicated circuits for each heavy tool (welder, compressor, plasma cutter), general power point circuits, dust extraction, lighting, and a couple of spares for future additions. We customise the design based on your specific equipment list to ensure optimal functionality.
Is Three-Phase Power Necessary for a Home Workshop?
Not necessarily. Most home workshops function adequately on single-phase power with dedicated circuits. Three-phase power is only required if you are using commercial-grade equipment, such as large compressors (5HP+), three-phase welders, or CNC machines. Check our complete guide on Do I Need Three-Phase Power on My Property? to determine if it suits your needs and operations.
Can My Existing Switchboard Support a Workshop?
It is possible. If your house switchboard is modern and has spare capacity, we can often connect a workshop sub-board to it. If it consists of an outdated ceramic fuse board or is fully loaded, an upgrade will be necessary before proceeding. Our team will assess this during the quoting process to ensure your workshop is adequately powered.
What Is the Typical Duration for a Workshop Electrical Fit-Out?
A basic single-phase setup can generally be completed within 1 to 2 days. A full fit-out involving multiple heavy circuits, three-phase power, and comprehensive lighting usually takes 3 to 5 days, depending on the complexity and distances for cable runs. We will provide a timeline along with your quote to keep you updated throughout the process.
Ensure Your Workshop Is Properly Wired for Maximum Efficiency
If you are establishing a workshop on your property and want to ensure it is done correctly from the outset, contact us. We will visit your site, evaluate your space and equipment list, and develop a tailored plan that meets your power needs without compromising safety or quality.
Contact Hack-It Electrical Solutions at 0402 079 803 or reach out to us online to schedule a quote for your project.
We are your local electricians in Bellingen, proudly serving the entire Mid North Coast from Nambucca Heads to Woolgoolga and up to Dorrigo.
Original Article First Published At: Powering A Workshop With Dedicated Circuits for Heavy Tools and Equipment
The Article: Dedicated Circuits for Powering Heavy Tools in Workshops first appeared on https://writebuff.com
The Article Dedicated Circuits for Heavy Tools in Workshop Power Solutions Was Found On https://limitsofstrategy.com
References:
Dedicated Circuits for Heavy Tools in Workshop Power Solutions
Dedicated Circuits for Workshop Power Solutions with Heavy Tools